Colonial Forest Master

The place to show off and discuss factory manufactured knives customized with scrimshaw, inlays, file work, etc...
Post Reply
Plas62
Posts: 60
Joined: Fri Aug 13, 2010 10:12 pm
Location: Hogansville, GA

Colonial Forest Master

Post by Plas62 »

I had a Colonial Forest Master that I had picked up at flea market a couple of years or so ago and had been holding off on redoing it, as I wanted to redo the handles in Stag to maintain the original look of the knife. Since I didn't have any Stag material or experience working with Stag or bone. Not to mention my limited success with spinning pins, I kept putting the project off.

Then in early November, Orvet posted his tutorial on "Fitting Handles to Bolsters" this provided some very good instruction on cutting, fitting and attaching Stag to the bolsters and liners and inspired me to go ahead and take the plunge. So I order a set of Amber Carved Stag Bone (CSB) scales from Culpepper's for this project, along with a variety of jigged bone and stag for future projects.

Below are some pic's on how the project progressed,

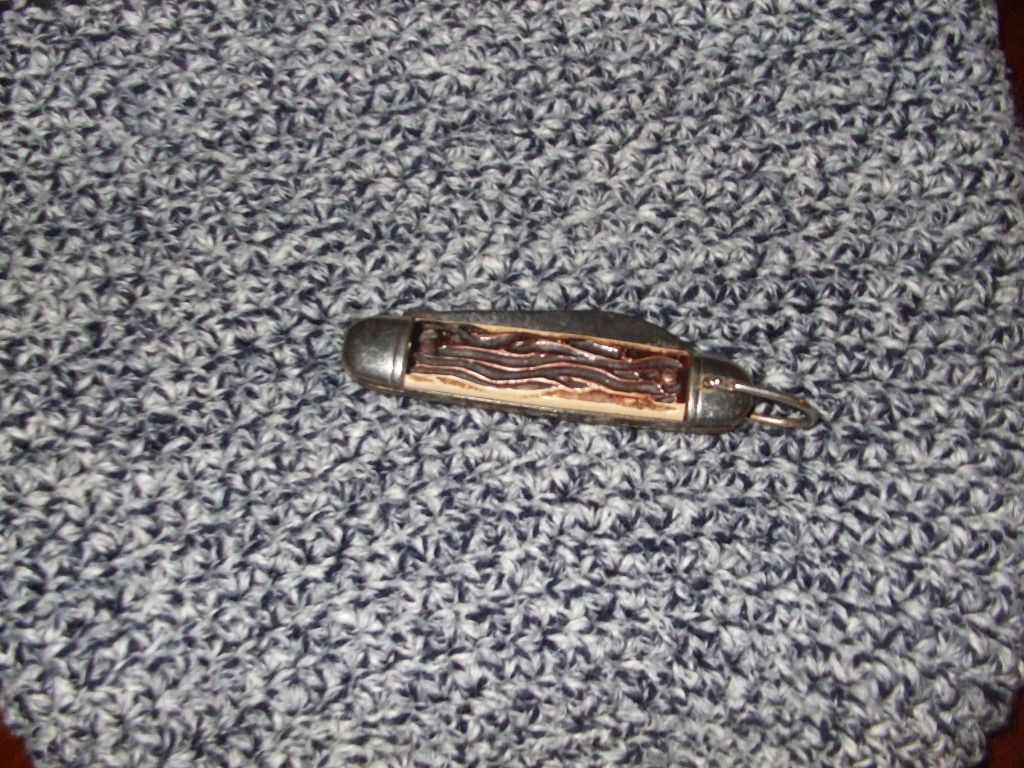
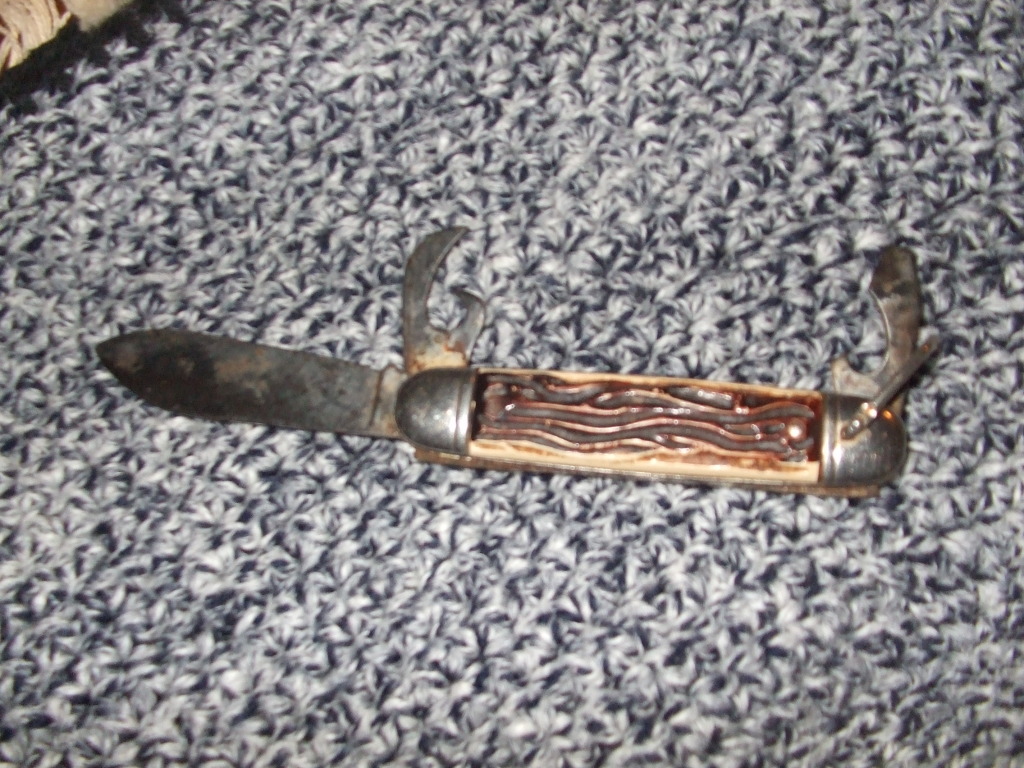
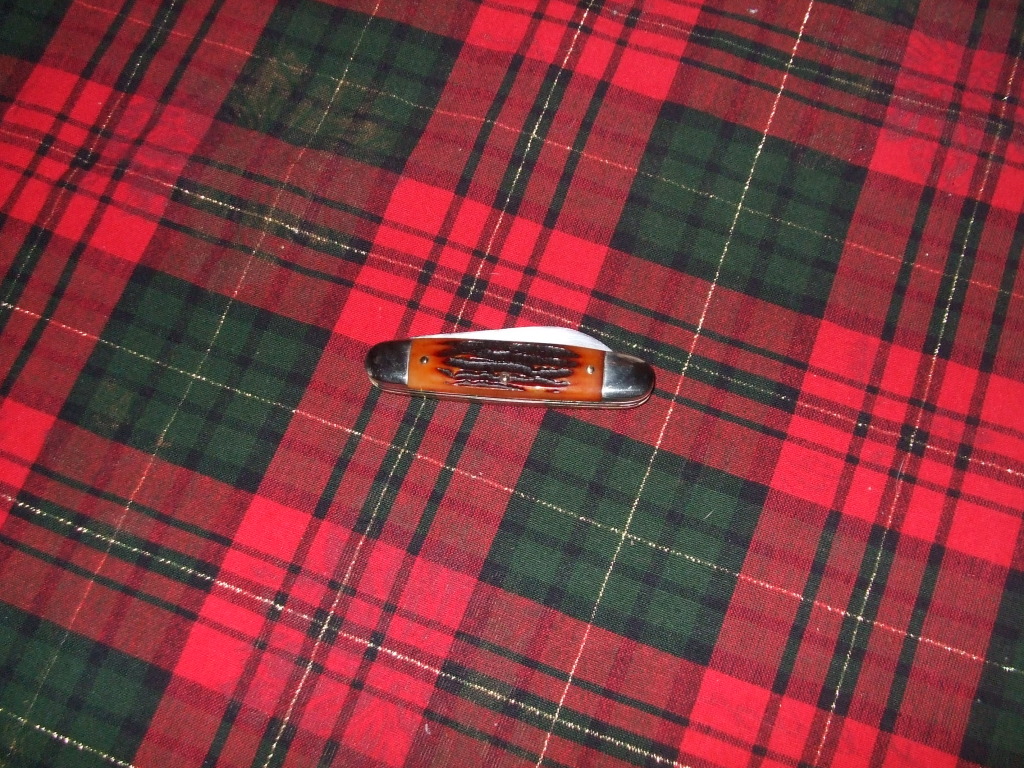
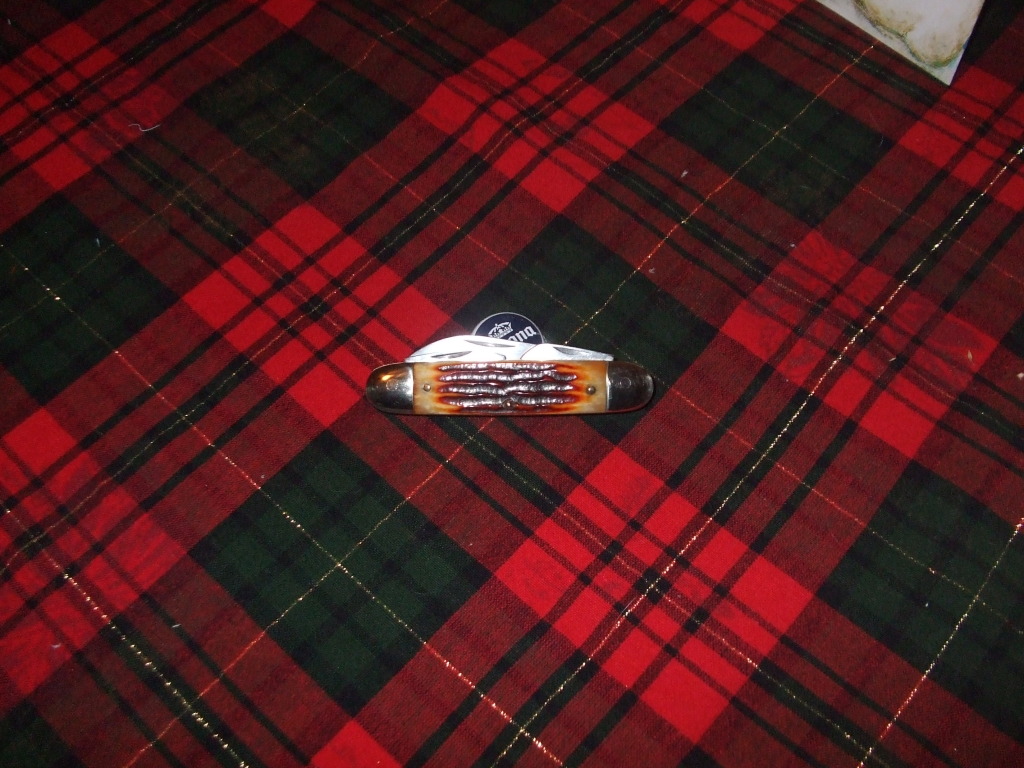
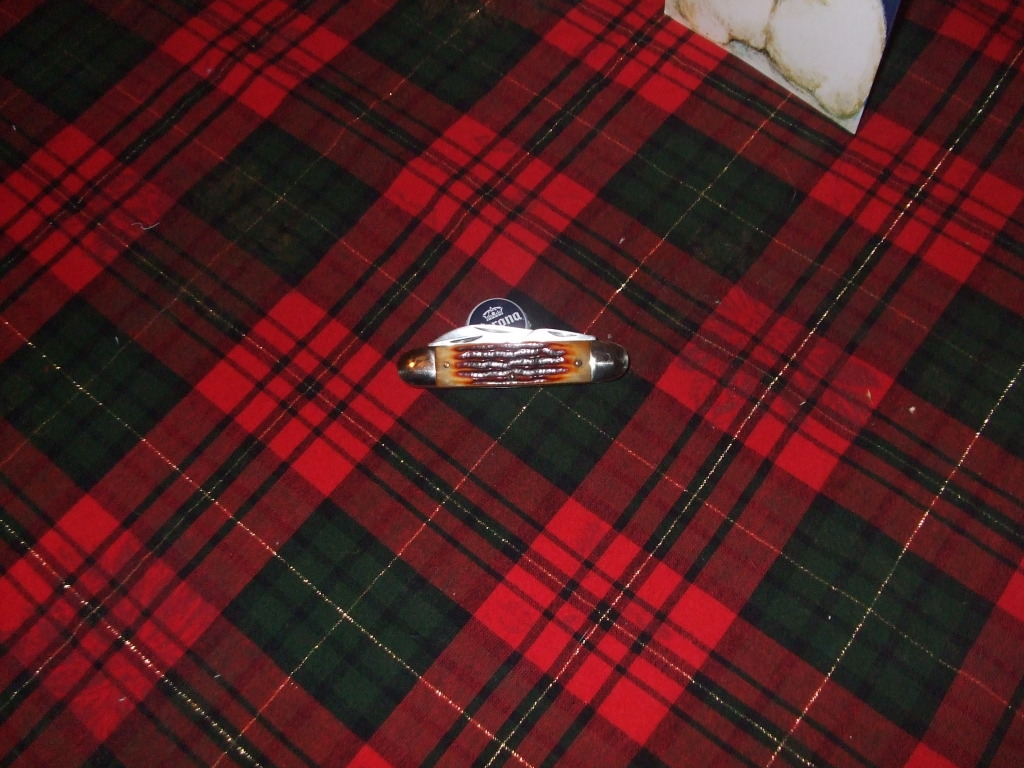
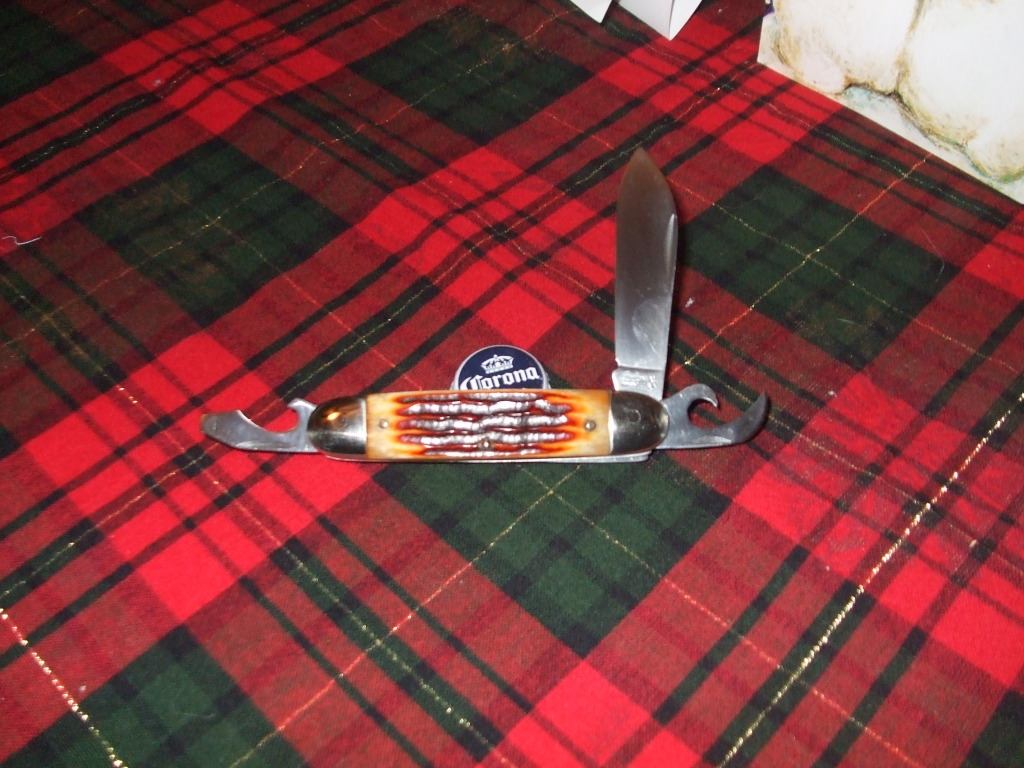
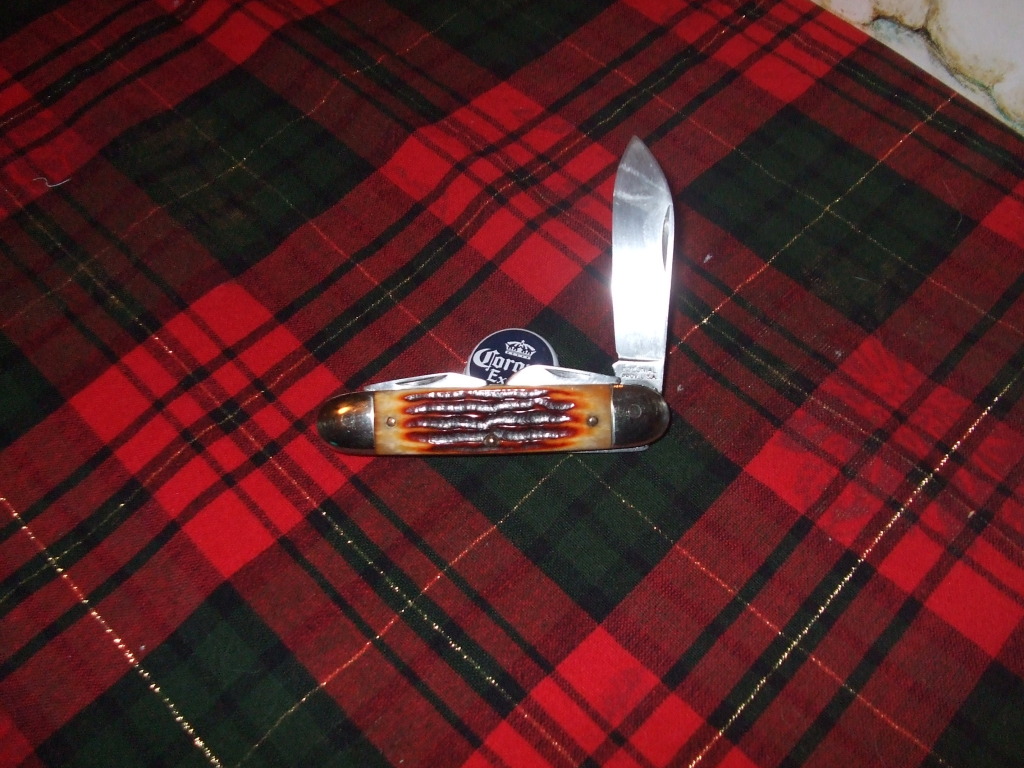
Here are some before pic's of the Forest Master.
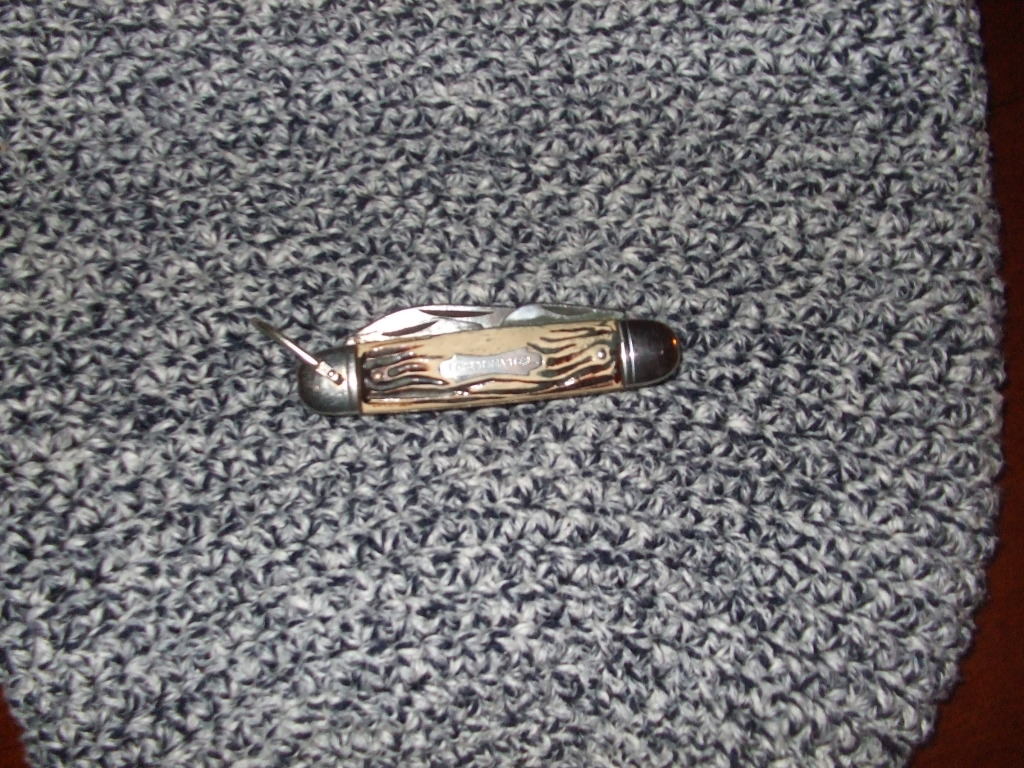
Image

Image

Image

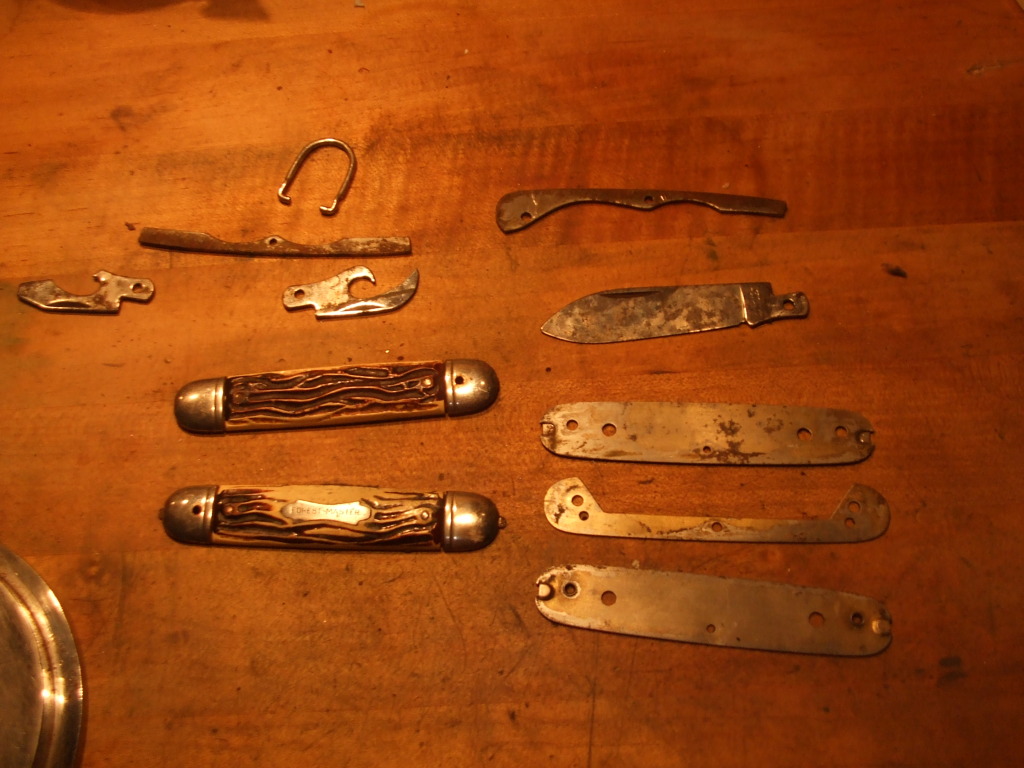
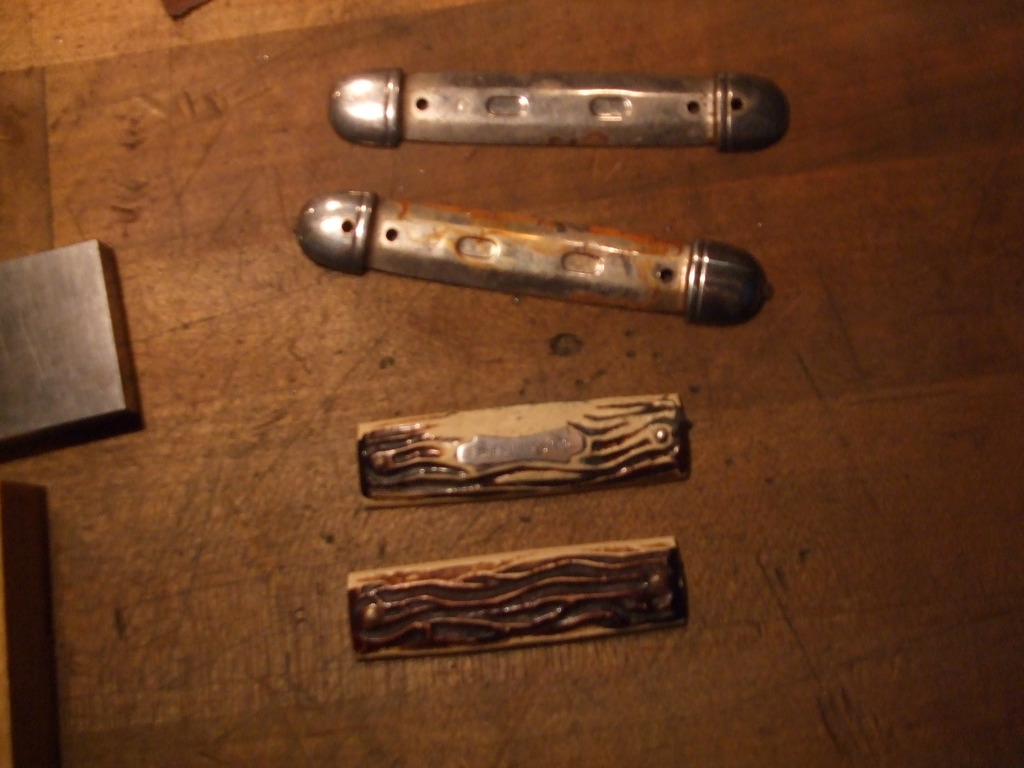
Forest Master disassembled.

Image

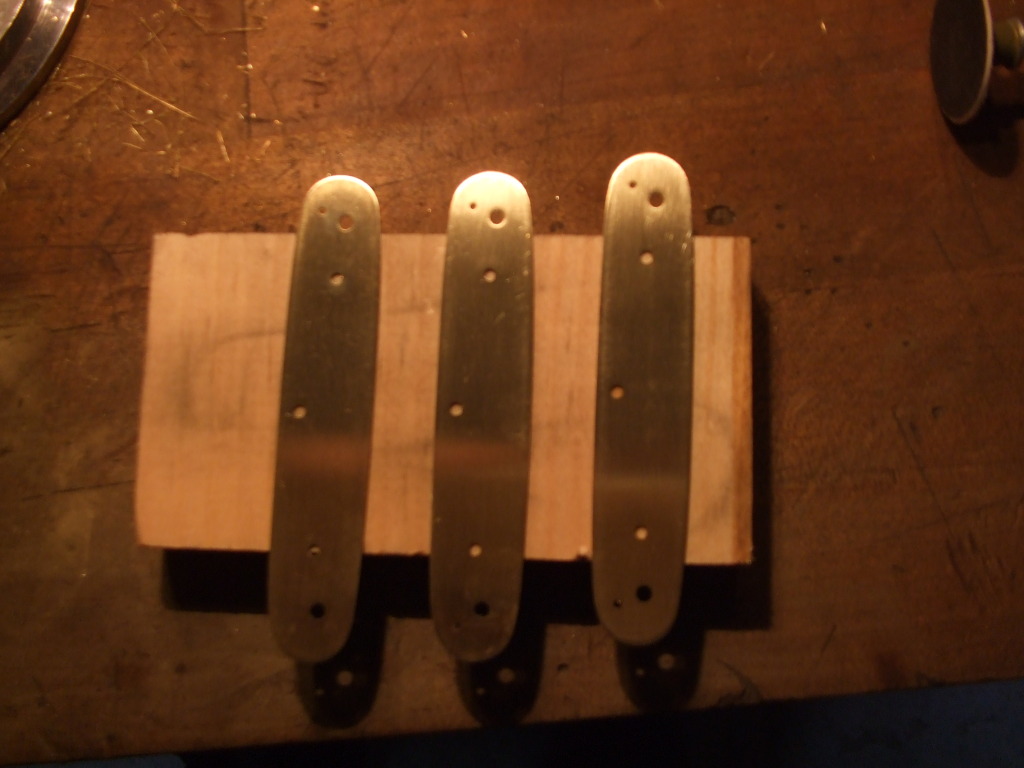
Pic's of the new brass liners I made. I sandwich pieces of brass stock (.032") between the orginal stamped steel liners drilled holes, pin them together and ground them to shape. Also are pictures of the four new nickle silver bolsters, flattened on one side and edge with a file.
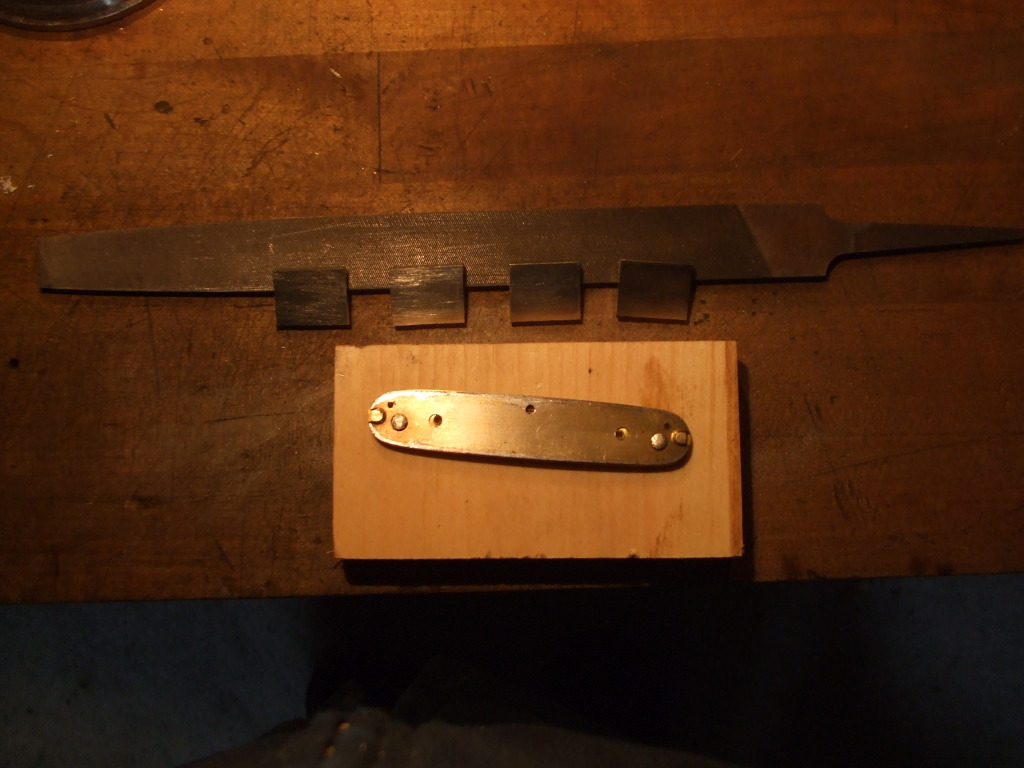
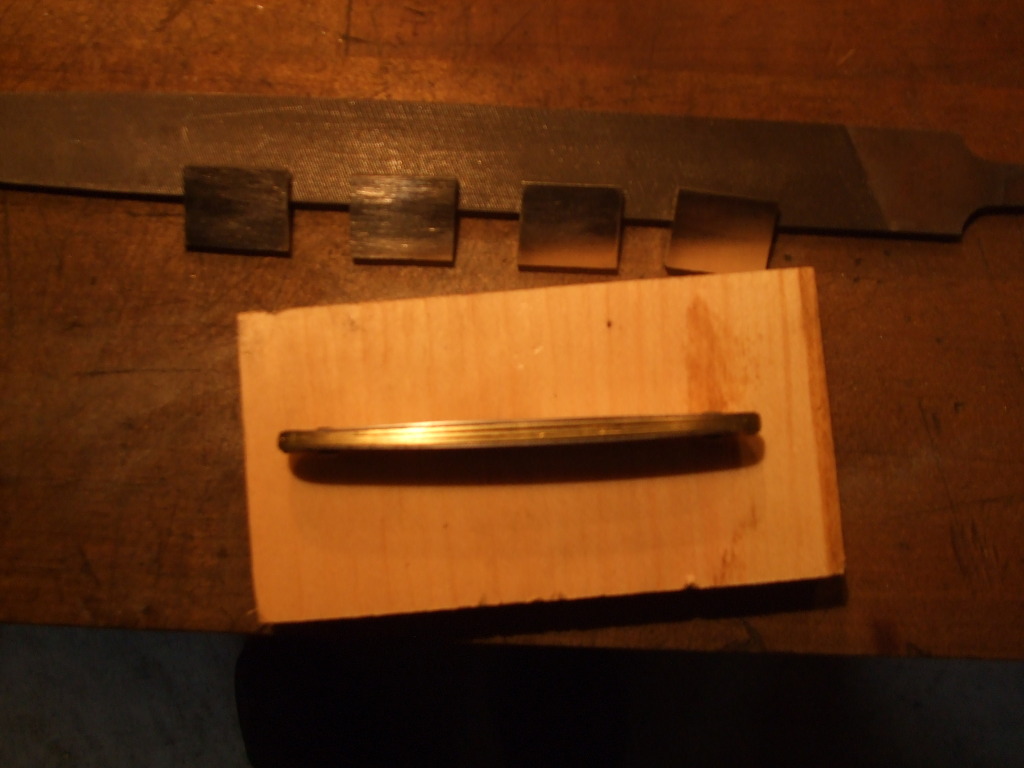
Image

Image

Pic's of liners after removing stamped steel template.
Image

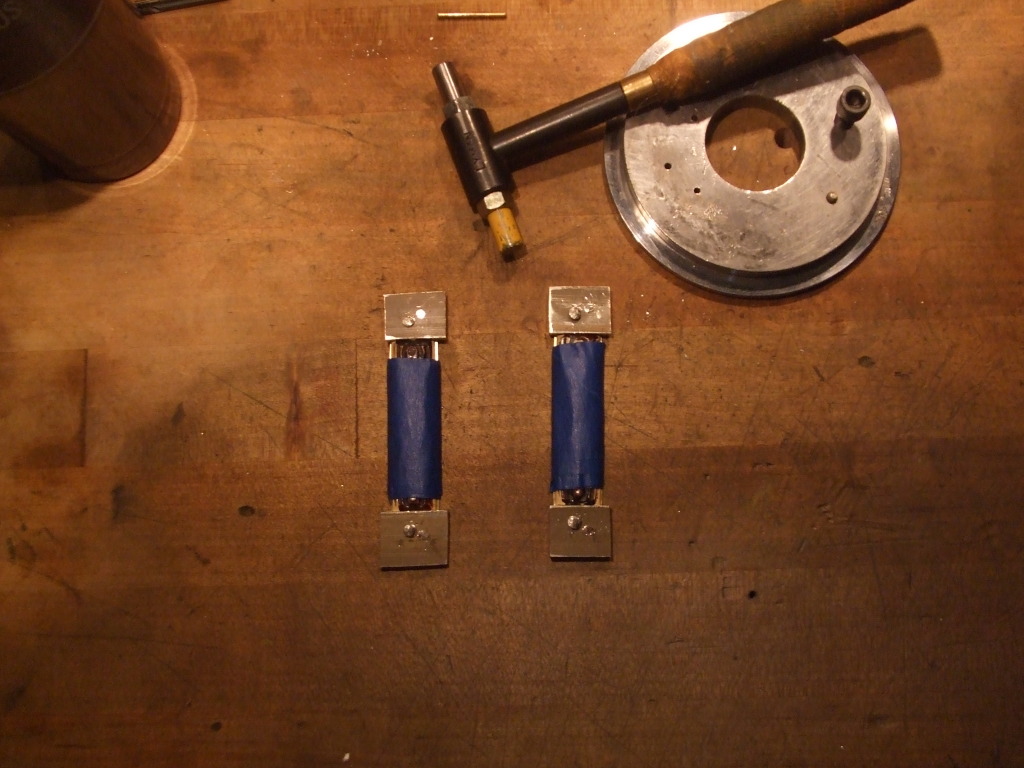
I then removed the old plastic scales from the original stamped steel bolster plate and use these to set the spacing of the nickle silver bolsters on the brass liners. Using the plastic scales also helps to ensure the new bolsters are parallel. They also help keep the brass liners from bending while shaping the bolsters on the sander.
Image

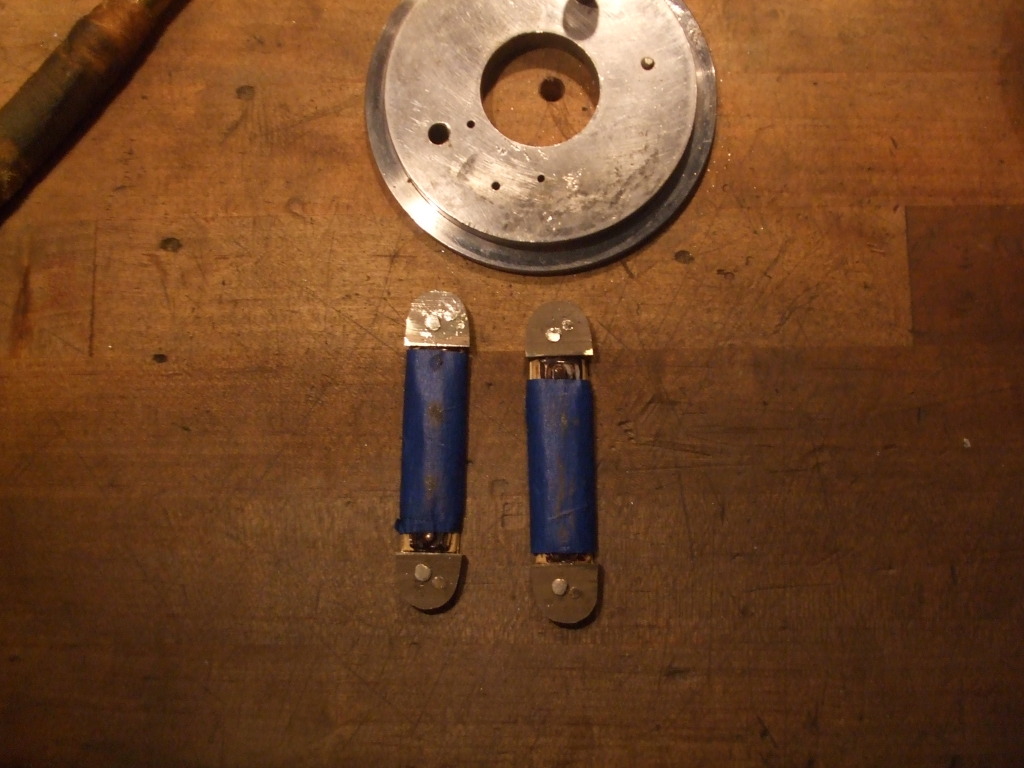
Bolsters and liners pinned together.

Image

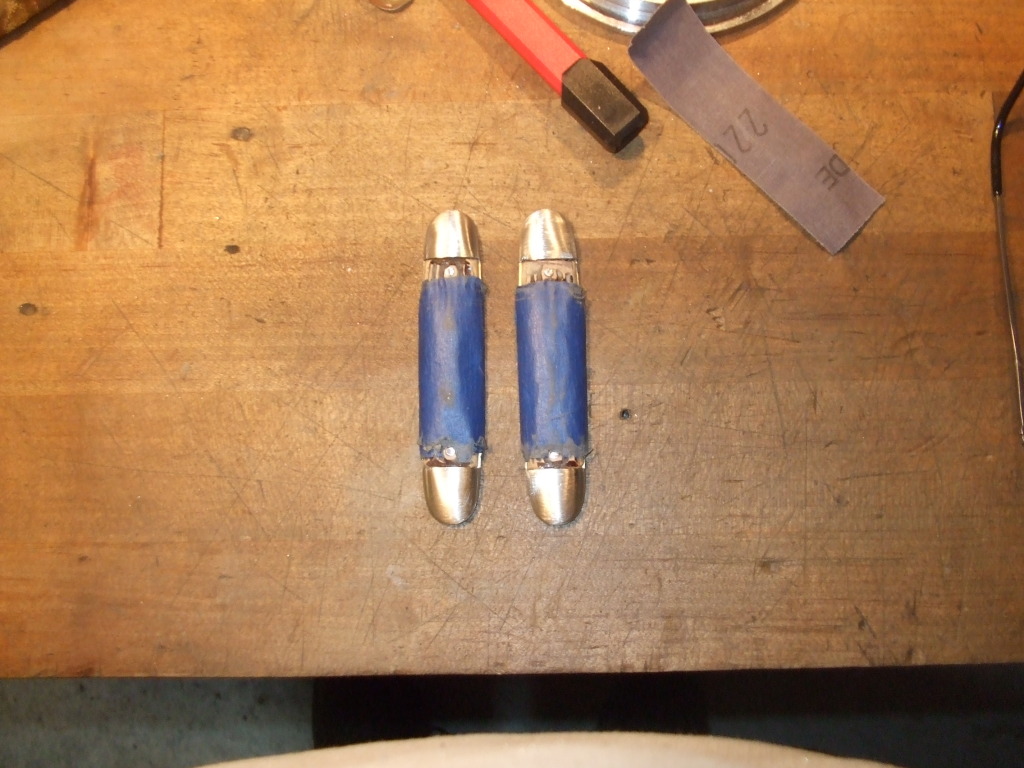
Bolsters partially and fully shaped. I used my belt/disc sander and my 1" x 30" belt sander for this and shaping the liners in the earlier photo.
Image

Image

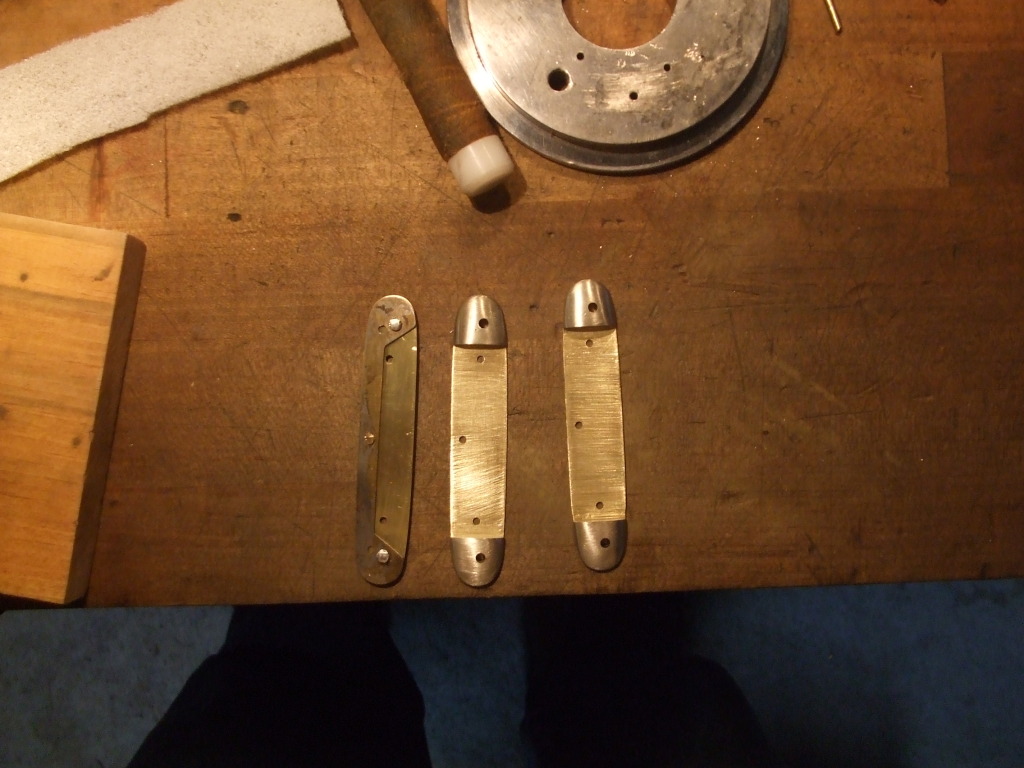
Pic of assembled liner and bolster ready for handle material. Also in this pic is the third brass liner pinned to the stamped steel cut scale for shaping.
Image

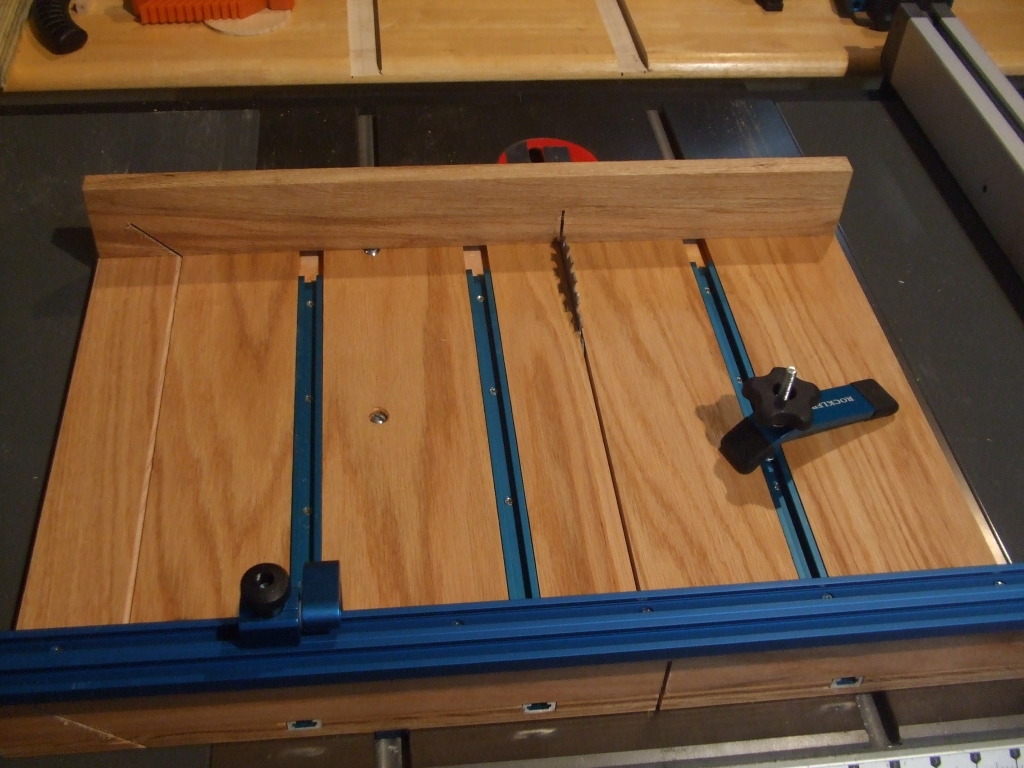
I then cut the Amber CSB to length using a sled/ jig that has hold downs built into it,on my table saw. I use this jig for box making and cutting my wooden scales to size. I was little leery using the table saw to cut the bone. I was afraid it might shatter, but it actually worked quite well. I would not recommend cutting the scales this way unless you have a similar sled / jig. I got the plans for this sled from my Woodsmith Shop Notes magazine.
Image

Image

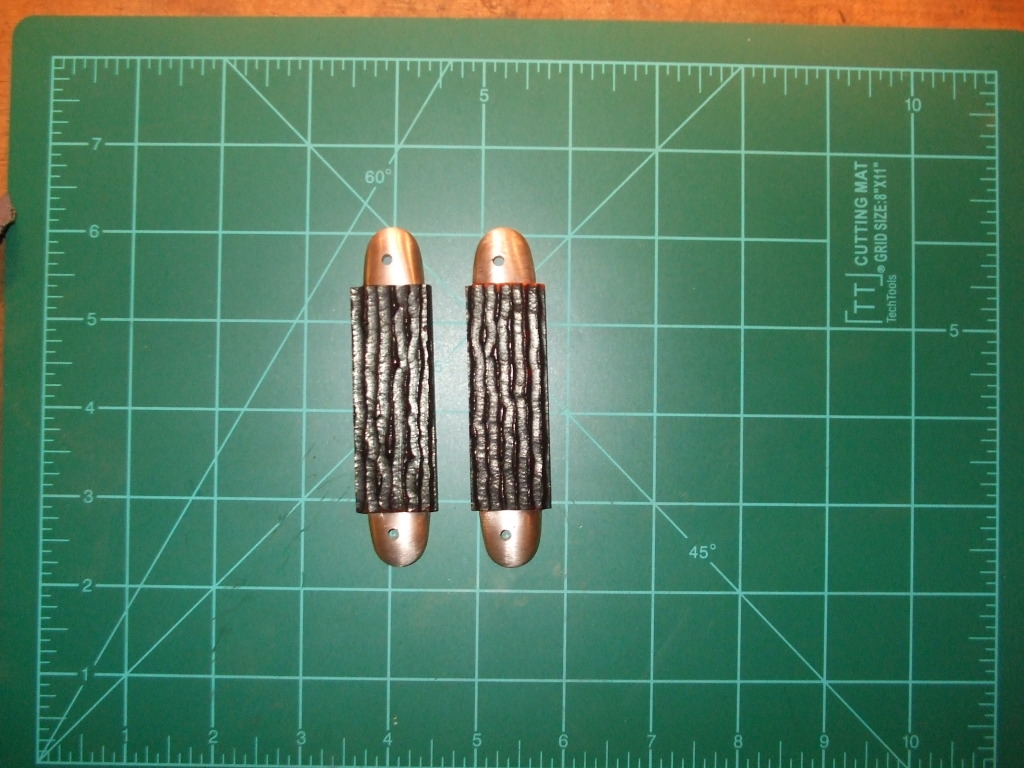
Pic of the Amber CSB fitted to the bolster / liner assembly. I cut the scales about 1/8" longer than needed and then fitted them with my dic sander and then by hand.
Image

I then followed the steps in Orvet's tutorial for gluing the scales to the liners. See link below.

http://www.allaboutpocketknives.com/kni ... 38&t=33927


I then polished the blades and springs and assembled the knife, sorry no pic's of this process. The pin spinning was a bit of a challenge. I was using a pin spinner from Jantz and reread many of the threads on pin spinning and had limited success using these tips. I ended up having the best results by pre-mushrooming the ends of the pins and using a drop of Rapid Tap cutting oil.

Here are pic's of the finished knife. It's not perfect, but overall I think it turned out pretty good. It was a challenge and I learned a lot. After posting this I'm headed out to the shed to pick out my next "victim" :)

Image

Image

Image

Image

Image
knife-nut
Bronze Tier
Bronze Tier
Posts: 1547
Joined: Fri Jun 30, 2006 2:09 am
Location: Wichita, Kansas

Re: Colonial Forest Master

Post by knife-nut »

Nice job. ::tu:: I like it!!
User avatar
TripleF
Gold Tier
Gold Tier
Posts: 19613
Joined: Mon Feb 14, 2011 3:42 pm
Location: West Central FL
Contact:

Re: Colonial Forest Master

Post by TripleF »

Heavens to Betsy! :shock: :shock: :shock:

Beautiful job! ::tu:: ::tu::
User avatar
Cutty
Posts: 3031
Joined: Sat Feb 18, 2012 3:15 pm
Location: N. Georgia

Re: Colonial Forest Master

Post by Cutty »

Looks real nice from here ::tu::
I dig half stops!!


"GOTTA DO WHATCHA GOTTA DO, SO THAT YOU GET TO DO, WHATCHA WANNA DO"
My Grandad.
God rest his soul.


Brian
User avatar
glennbad
Gold Tier
Gold Tier
Posts: 8178
Joined: Mon May 15, 2006 11:13 am
Location: NH

Re: Colonial Forest Master

Post by glennbad »

Wow, that looks amazing!
User avatar
orvet
Gold Tier
Gold Tier
Posts: 19902
Joined: Tue May 16, 2006 6:23 am
Location: Willamette Valley, Oregon

Re: Colonial Forest Master

Post by orvet »

That looks really nice. It appears you got a nice fit on the bolsters. ::tu::

I am glad the tutorial was helpful.
Dale
AAPK Administrator

Please visit my AAPK store: www.allaboutpocketknives.com/orvet

Job 13:15

"Buy more ammo!" - Johnnie Fain
“Evil is Powerless If The Good are Unafraid.” – Ronald Reagan
User avatar
muskrat man
Gold Tier
Gold Tier
Posts: 5684
Joined: Fri Jun 30, 2006 4:04 am
Location: Ohio
Contact:

Re: Colonial Forest Master

Post by muskrat man »

well done ::tu::
Custom knives, repair, restoration & embellishment
Certified Hubertus, Taylor, & Schrade repairman past and present
http://www.muskratmanknives.com
https://www.facebook.com/Muskratmanknives
User avatar
Quick Steel
Posts: 18346
Joined: Thu Dec 16, 2010 5:39 pm
Location: Lebanon, KY

Re: Colonial Forest Master

Post by Quick Steel »

A great transformation. ::ds::
Chief RID
Posts: 552
Joined: Thu Feb 23, 2012 1:15 pm
Location: SC

Re: Colonial Forest Master

Post by Chief RID »

The shell knife conversion has been something I have considered. After seeing it done, I may have to give it a try. Thanks for the pics and instruction. That is a one of a kind of knife with a lot off class. 1st rate job. Did you consider keeping the bail and if so how would that be done?
Plas62
Posts: 60
Joined: Fri Aug 13, 2010 10:12 pm
Location: Hogansville, GA

Re: Colonial Forest Master

Post by Plas62 »

Thank's everyone

Chief - I did consider re-installing the bail, but after I had it pretty well finished I didn't want to take a chance of screwing up the bolsters by drilling additional holes.

I never done it, but I think for that style bail you would have to drill into the bolsters adjacent to the pivot pin without drilling into the installed pivot pin. Hopefully, someone with some experience in re-installing bails will chime in and share their experience.

Jim
User avatar
tank
Posts: 1316
Joined: Thu Aug 24, 2006 4:35 am
Location: Shiloh, Tn
Contact:

Re: Colonial Forest Master

Post by tank »

Wonderful thread, Jim. Thank you for walking us thru it. It turned out great.
AAPK Moderator
BRKCA Founding Member
A quality knife is a companion for life.
My Collection
My Blog
Post Reply

Return to “Customized Factory Knives”