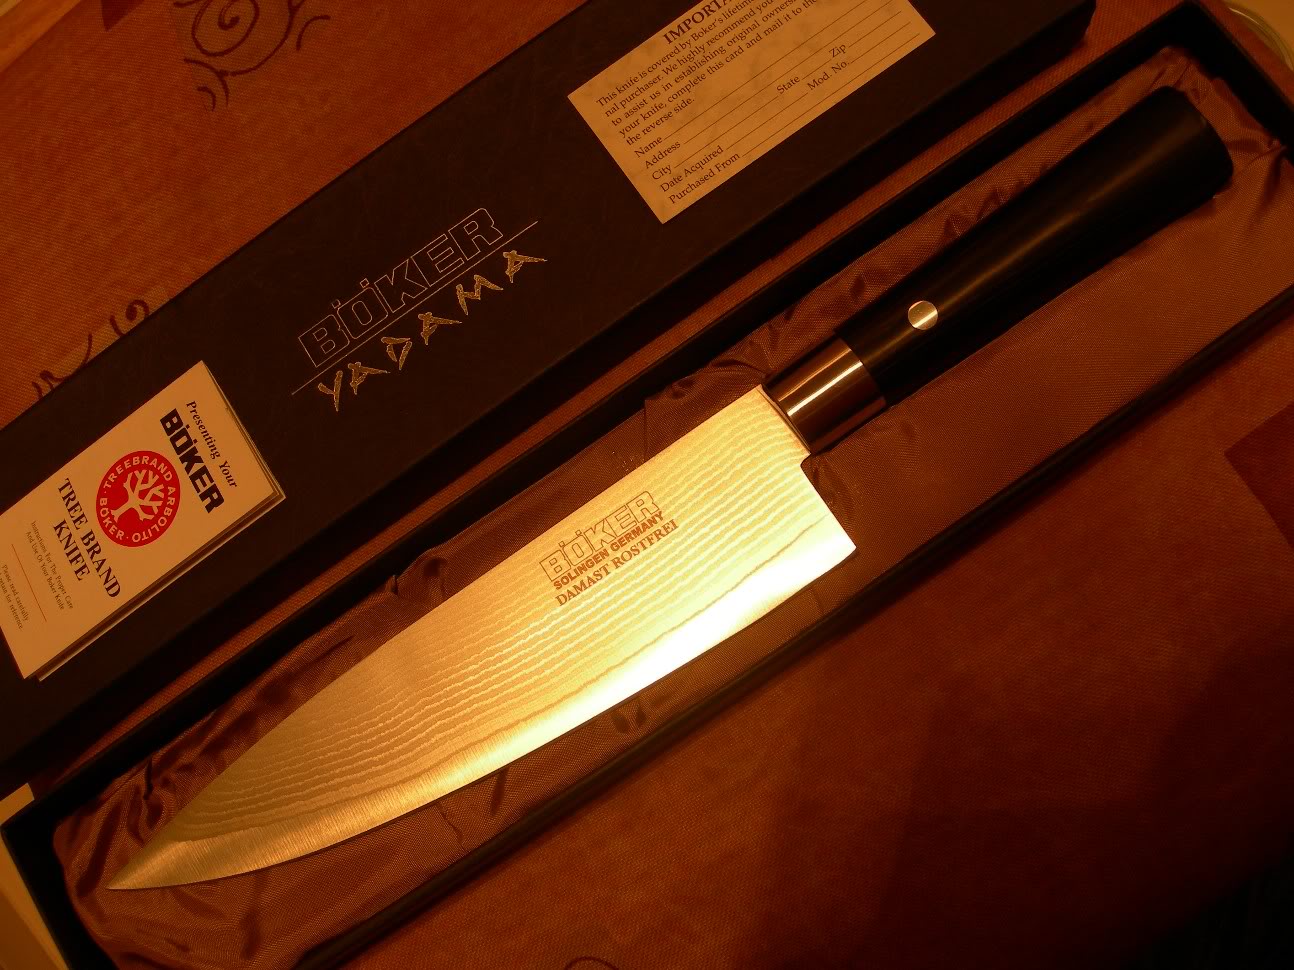
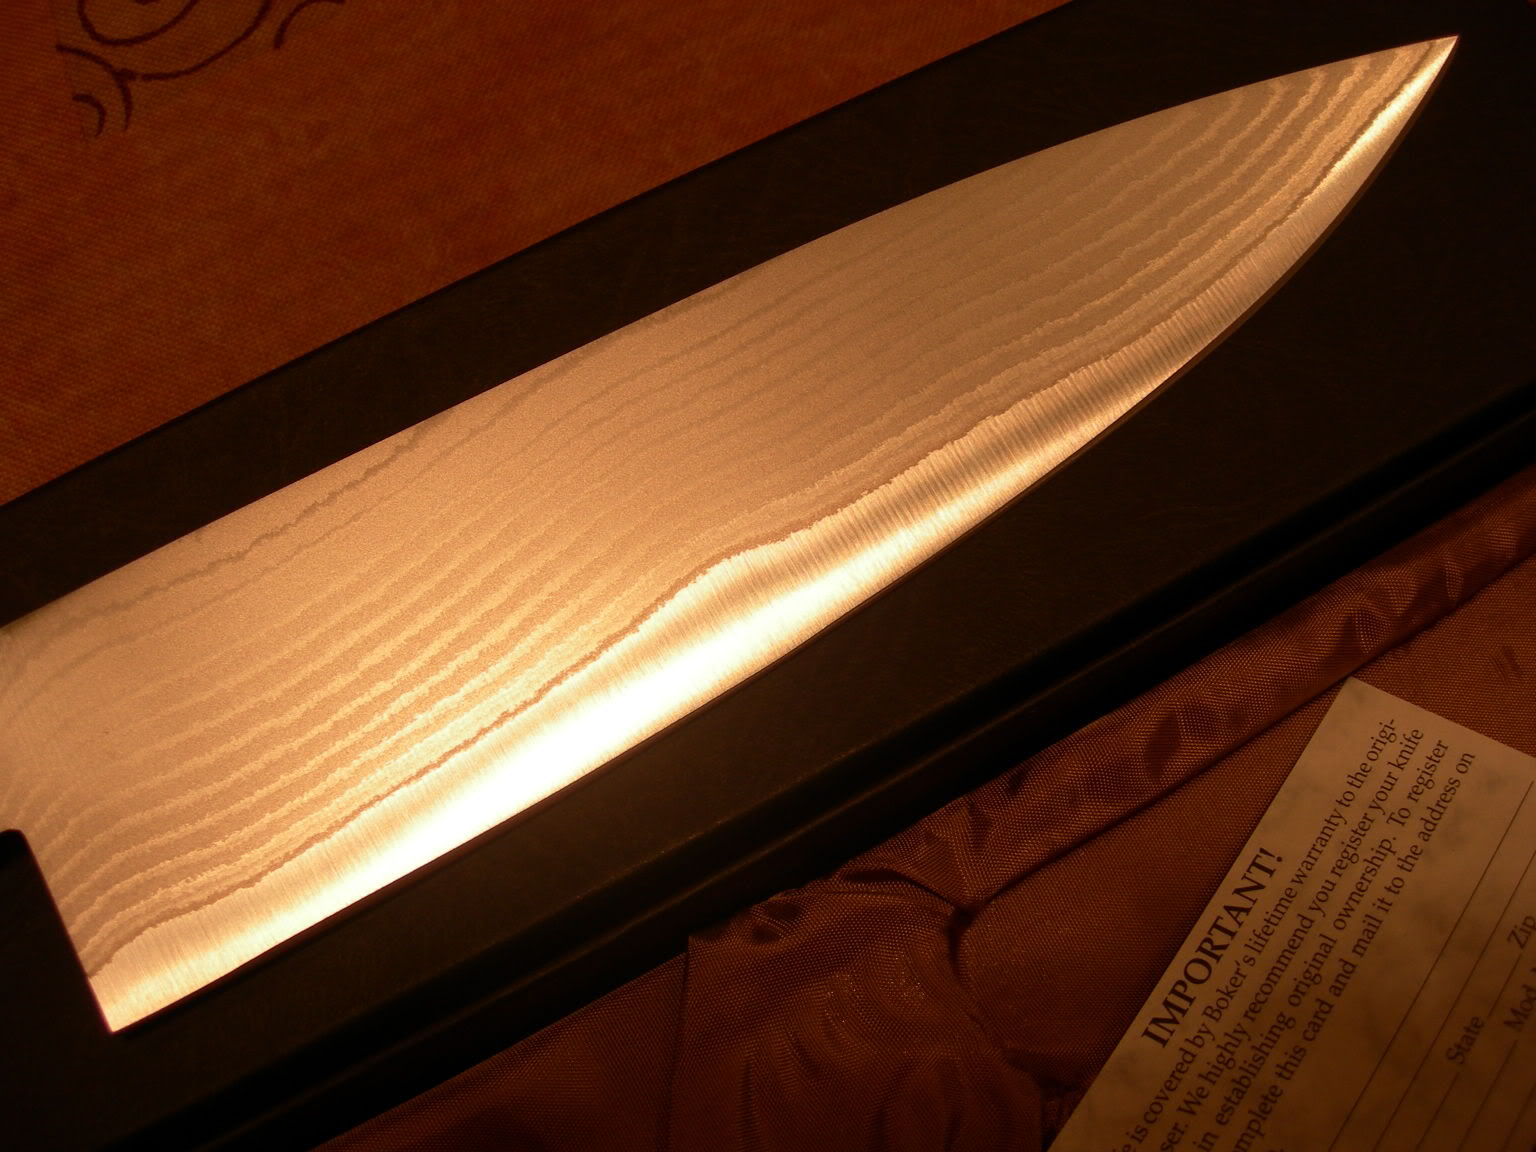
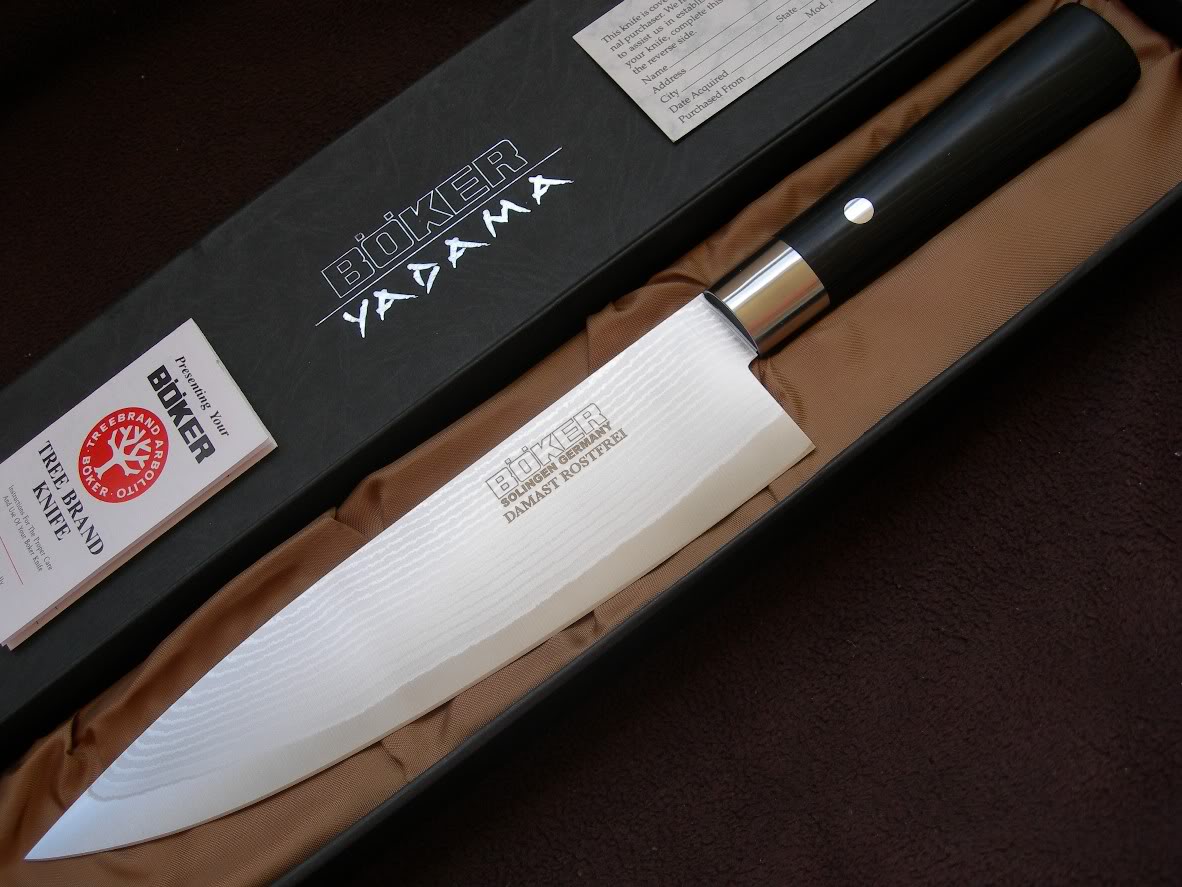
A Few Easy Tricks for Taking Good Pics (With Photos)
Posted: Wed Aug 22, 2007 10:42 am
Hi
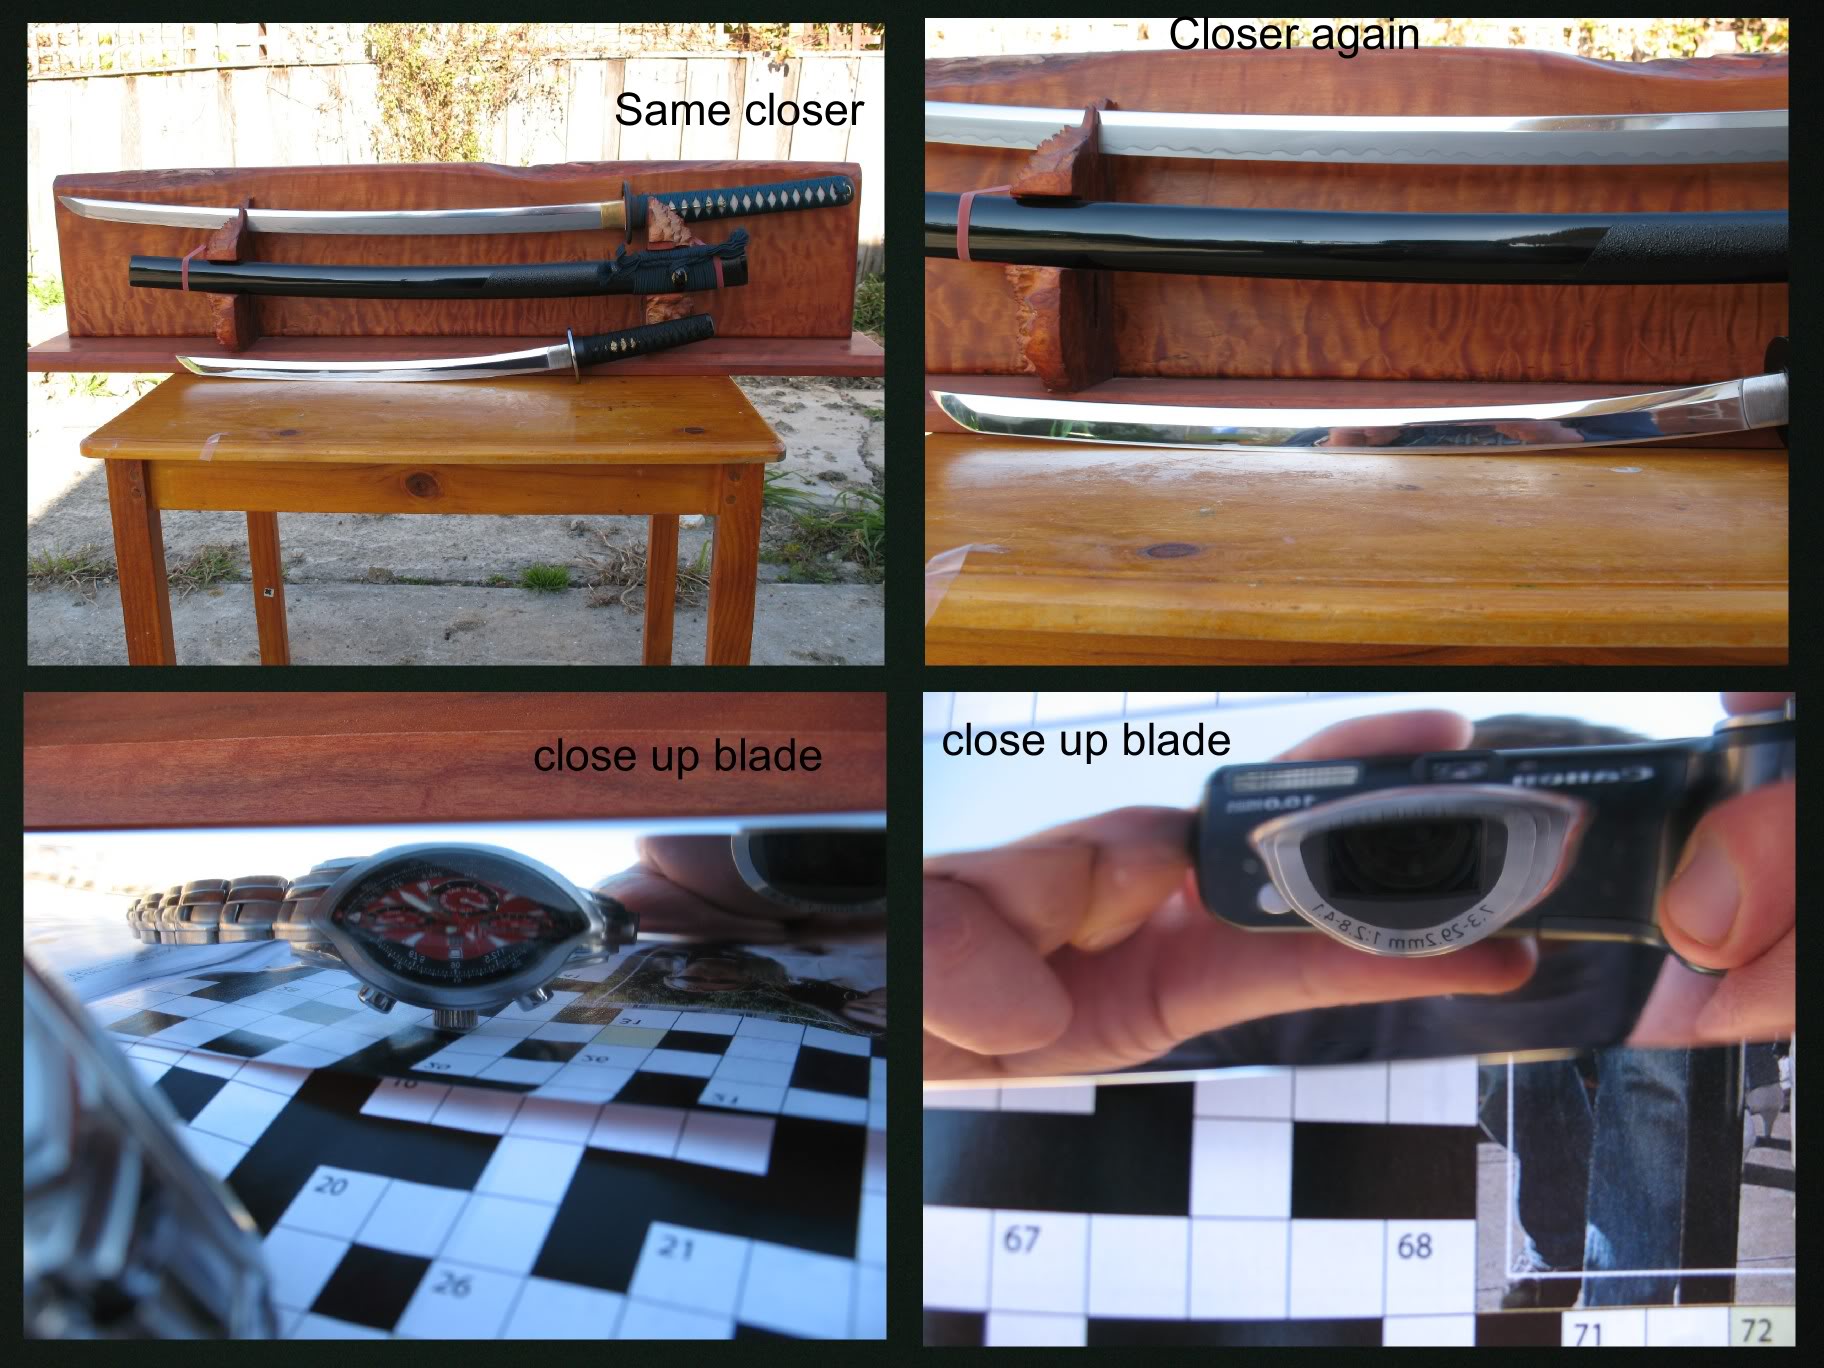
The photos of my swords were taken today in a hurry with no great special care. This was deliberate because I wanted to show how easy it is,
so that those who have only a little time to take photos could do the same and take some good pics for the forum.
I also have a special photo tent and a tripod but I used neither of these for all the photos except some of my Bowies
which I used the tripod for.
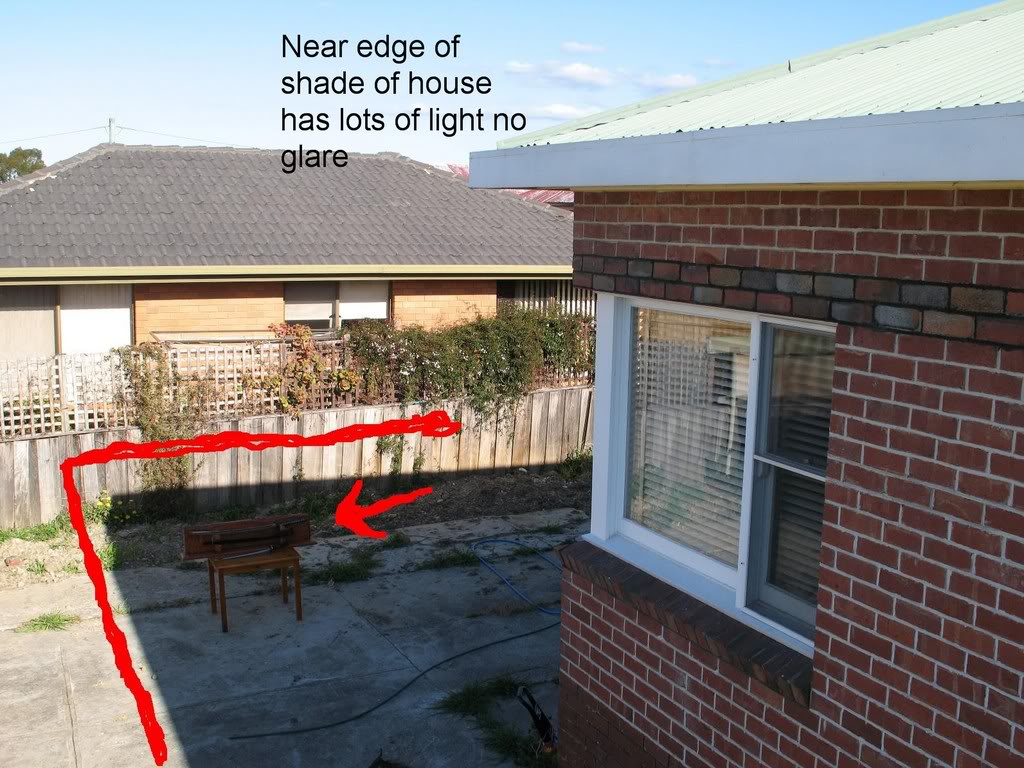
The first photo below shows the best possition for taking a photo (please excuse that its not a Schrade).
Its in the shade but still flooded with light from from the surrounding areas. Notice the sunlight is not on it which would ruin the shot.
Ive use this method many times and it gives great photos. You can see that although its in the shade the sky above is unobstructed
and this will reflect off the blade surface (that is if the blade was lying flat).
You will need to keep the camera and your head so that they are slightly to one side of the knife so that they dont also reflect off the surface.
The best way to do it is turn the knife upside down as you will normally be able to get more parralel to it with this method without the camera
refecting back from the knife surface. The effect of the sky reflecting off the whole knife is that it will look bright and show good detail often
with a very slight tinge of blue from the sky.
Once the photos are on your computer its easy to turn the photo back up the correct way.
I used the Micro close up function on the camera for most of these photos because they were done freehand. I think this is a fairly common mistake
but once you start taking photos close up the camera will have trouble focasing even when its on the normal auto focas setting, you will need to
manually set it by hand to the micro setting (macro) (Ive found its normally a button with a flower on it). This often makes a huge difference all on its own.
Both my old lower MP and new camera would acheive a very similar result with this method.
Re:The polish on the Schrade bowie at the bottom was improved on Monday with some High quality auto cutting compound.
Best of luck
Tim

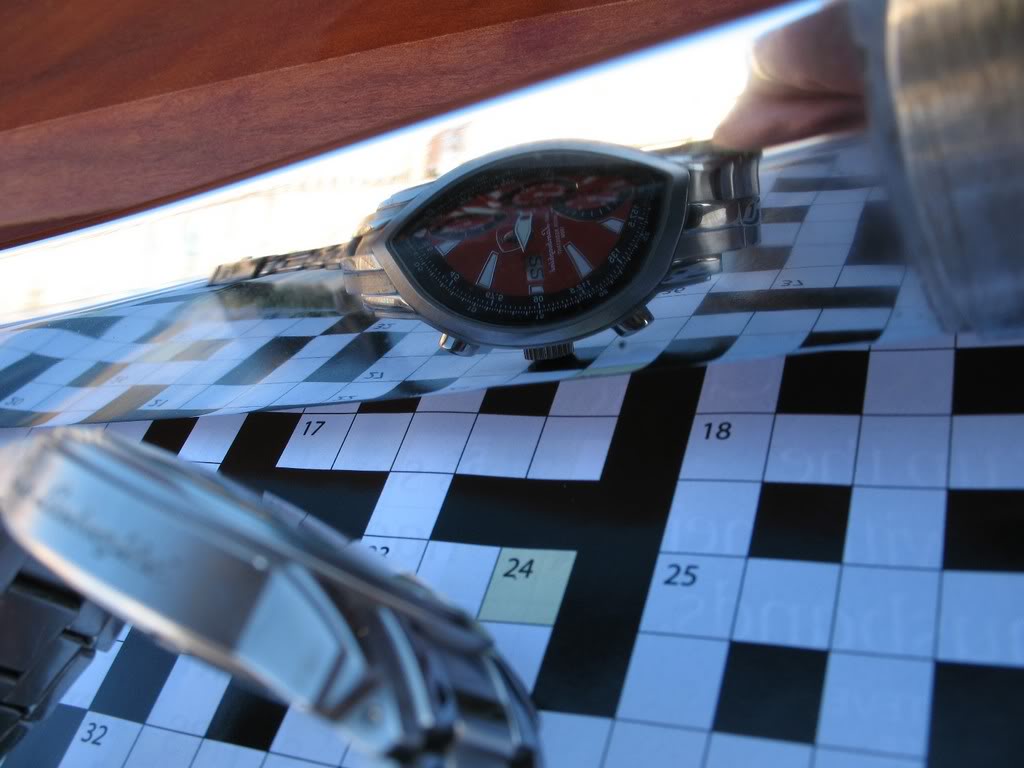
IMPROVED POLISH FROM PREVIOUS with high quality auto cutting coumpound
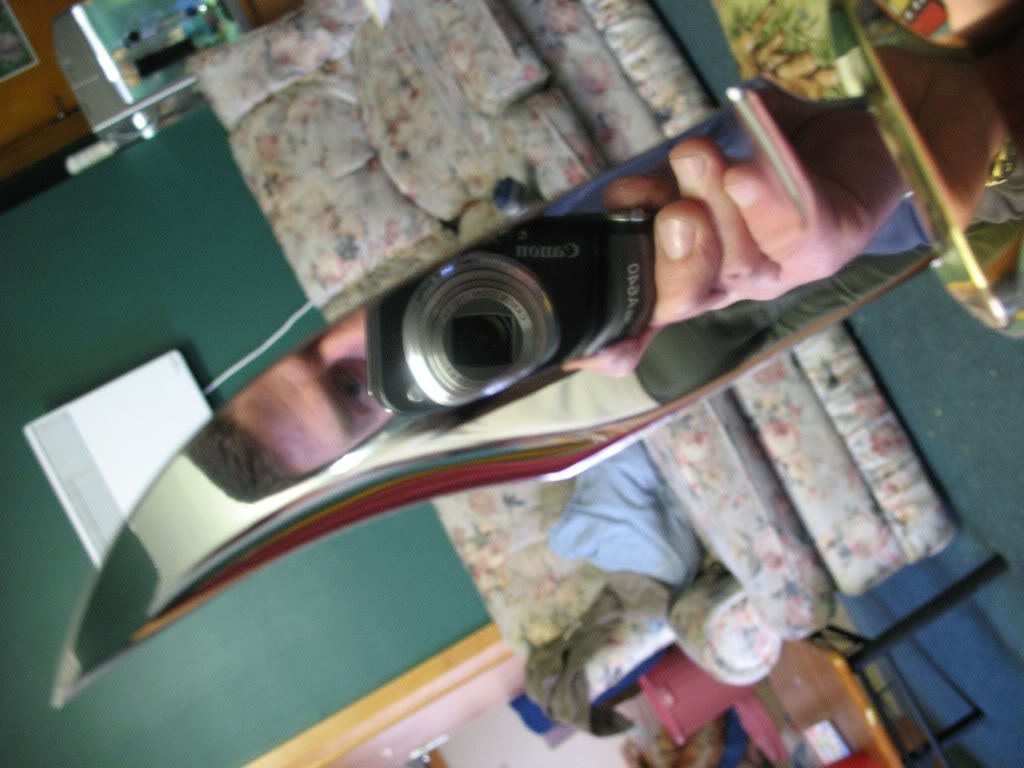
The photos of my swords were taken today in a hurry with no great special care. This was deliberate because I wanted to show how easy it is,
so that those who have only a little time to take photos could do the same and take some good pics for the forum.
I also have a special photo tent and a tripod but I used neither of these for all the photos except some of my Bowies
which I used the tripod for.
The first photo below shows the best possition for taking a photo (please excuse that its not a Schrade).
Its in the shade but still flooded with light from from the surrounding areas. Notice the sunlight is not on it which would ruin the shot.
Ive use this method many times and it gives great photos. You can see that although its in the shade the sky above is unobstructed
and this will reflect off the blade surface (that is if the blade was lying flat).
You will need to keep the camera and your head so that they are slightly to one side of the knife so that they dont also reflect off the surface.
The best way to do it is turn the knife upside down as you will normally be able to get more parralel to it with this method without the camera
refecting back from the knife surface. The effect of the sky reflecting off the whole knife is that it will look bright and show good detail often
with a very slight tinge of blue from the sky.
Once the photos are on your computer its easy to turn the photo back up the correct way.
I used the Micro close up function on the camera for most of these photos because they were done freehand. I think this is a fairly common mistake
but once you start taking photos close up the camera will have trouble focasing even when its on the normal auto focas setting, you will need to
manually set it by hand to the micro setting (macro) (Ive found its normally a button with a flower on it). This often makes a huge difference all on its own.
Both my old lower MP and new camera would acheive a very similar result with this method.
Re:The polish on the Schrade bowie at the bottom was improved on Monday with some High quality auto cutting compound.
Best of luck
Tim
IMPROVED POLISH FROM PREVIOUS with high quality auto cutting coumpound