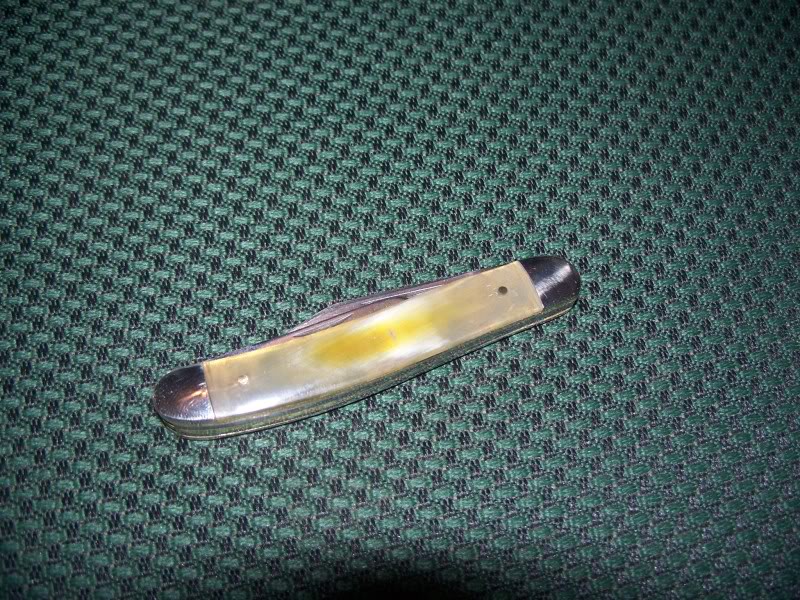
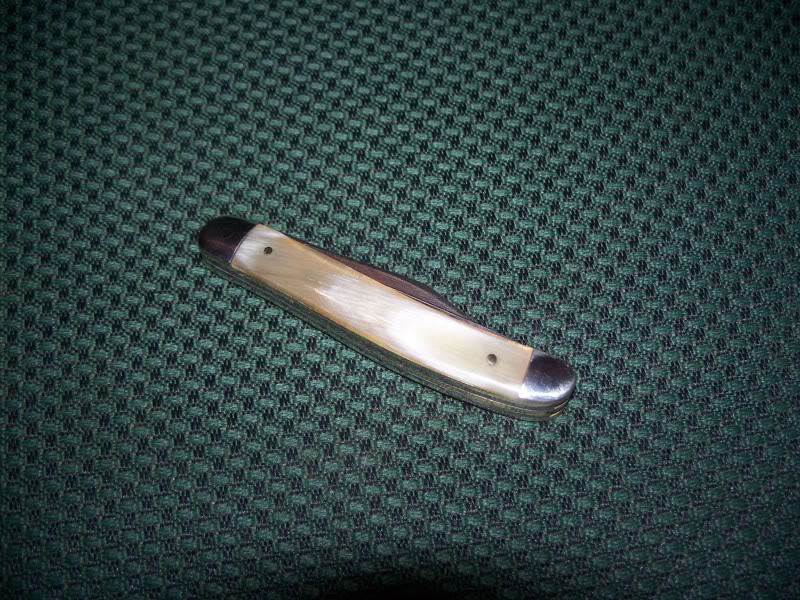
Turning Horn To Handles
Posted: Mon Jan 30, 2012 7:42 pm
I put this little tutorial together to show you how to process horns for use as knife handles. This applies for any American horned animal like cow and buffalo. Also, to avoid any confusion Elk, deer, and moose do not have horns, they have ANTLERS. Antlered animals shed their headgear, horned animals (with the exception of antelope) do not.
We start off with an ordinary cow horn

Mark it where it the tip starts getting solid

and cut it off
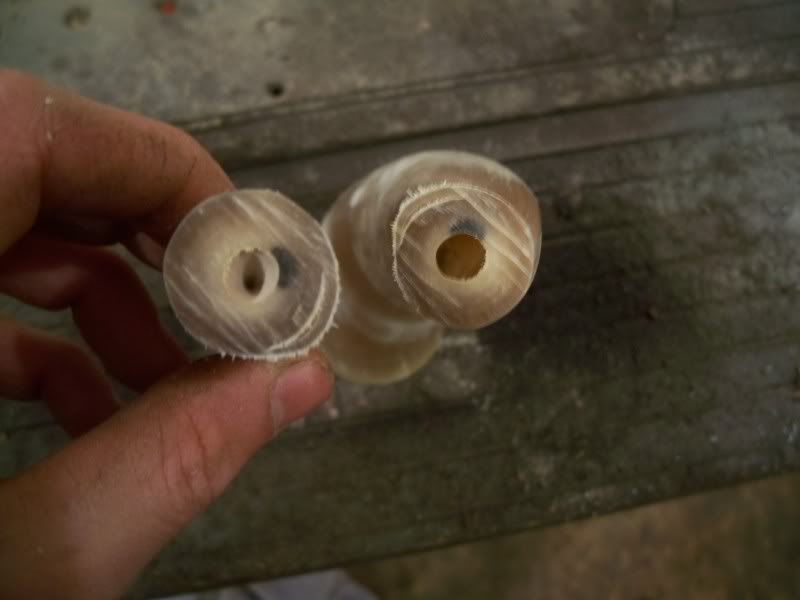
Now I make a rough mark and slice the horn in two. Always keep the cut parallel to the curve of the horn so if the horn is twisted you need to follow the curve of the horn, don't just make a straight cut or you'll lose material
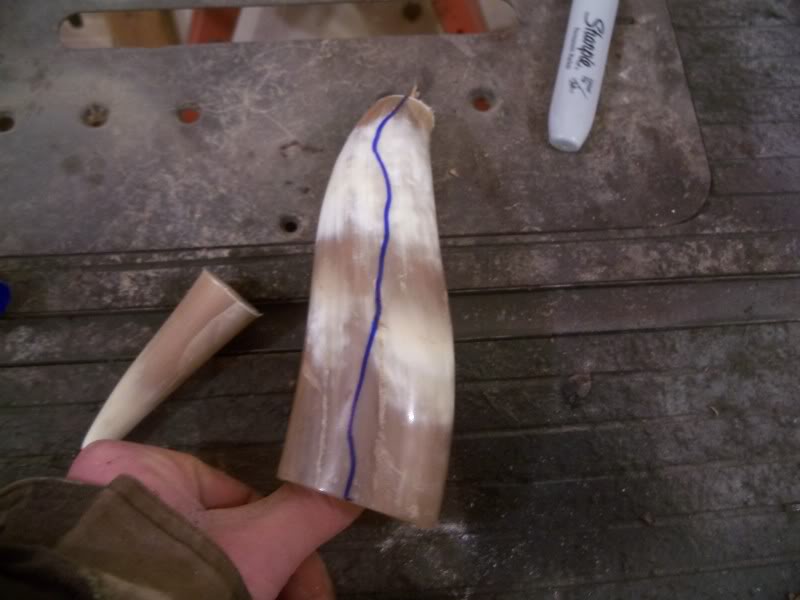
Here it is sliced right down the middle
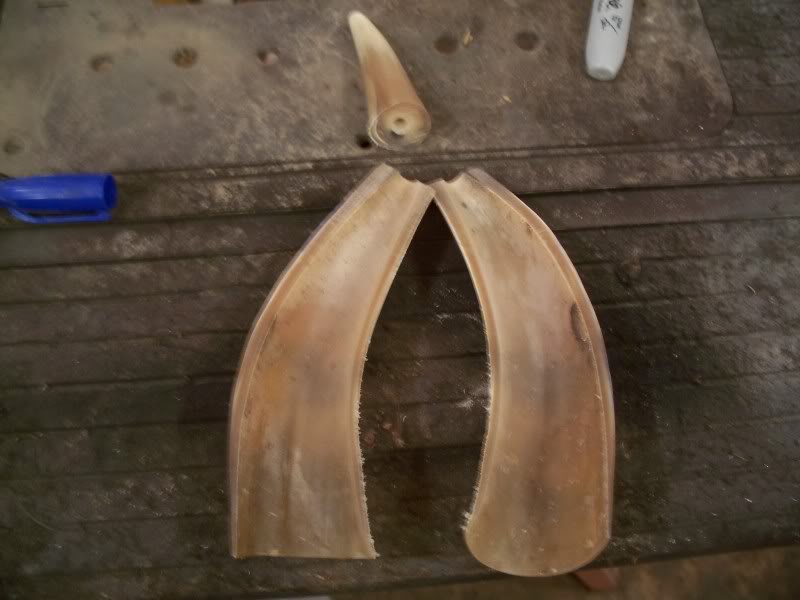
At about the halfway point is where the thickness begins to noticeably change, I'll get one thick set and one thinner set out of this relatively small horn plus I'll have the tip for another project.
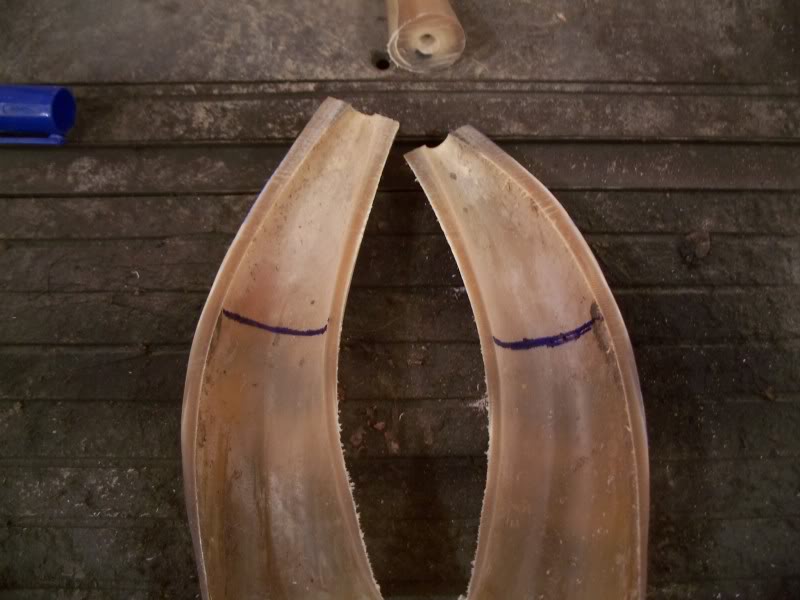
Here is everything
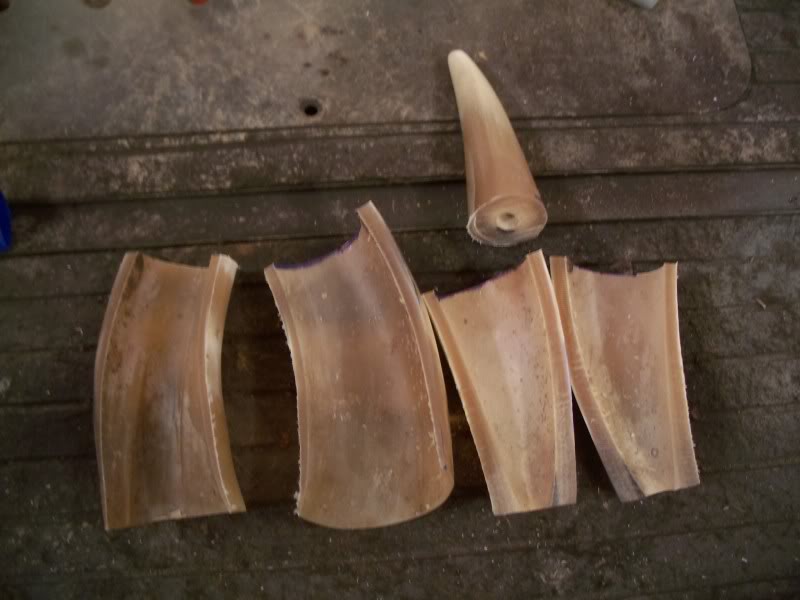
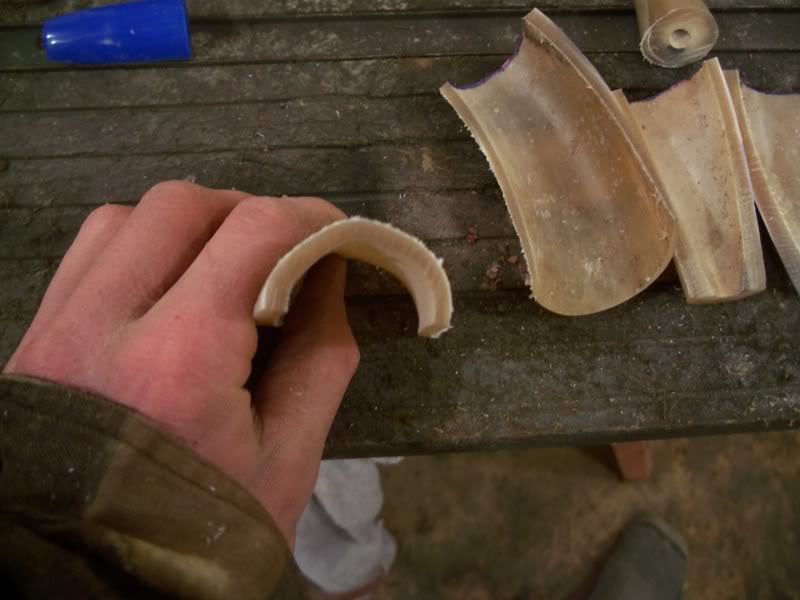
decent thickness once you get in off the very edge
Chuck them all in boiling water, it doesn't stink too bad so you can do it inside if the wife will be gone for the day. I don't have that problem so I just boil them right in the kitchen. You could do it outside or in an outbuilding on a propane stove, turkey burner, ect. The hotplates I tried don't get hot enough to actually boil the water, the horn simmered for 5 hrs and was still too hard to clamp.
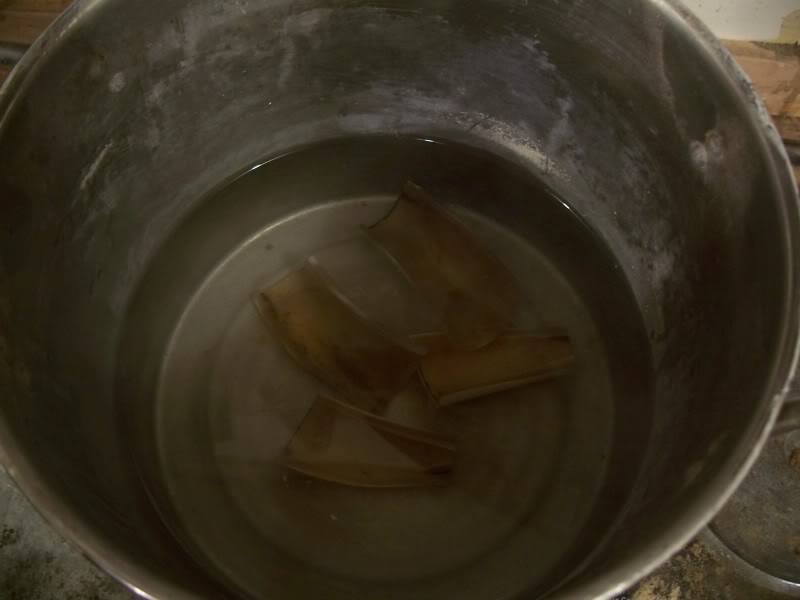
On a good rolling boil for around an hour for the thinner pieces, 1.5-2 hr for the thicker pieces ( 3/16" thick) to get them soft enough to clamp flat.
You can clamp them many ways but the best way I found by far was to use two flat pieces of wood (or metal, micarta ect as long as they're flat) and sandwich the horn between them and clamp them in a vice. This gives you the leverage and power you need to make the pieces good and flat.
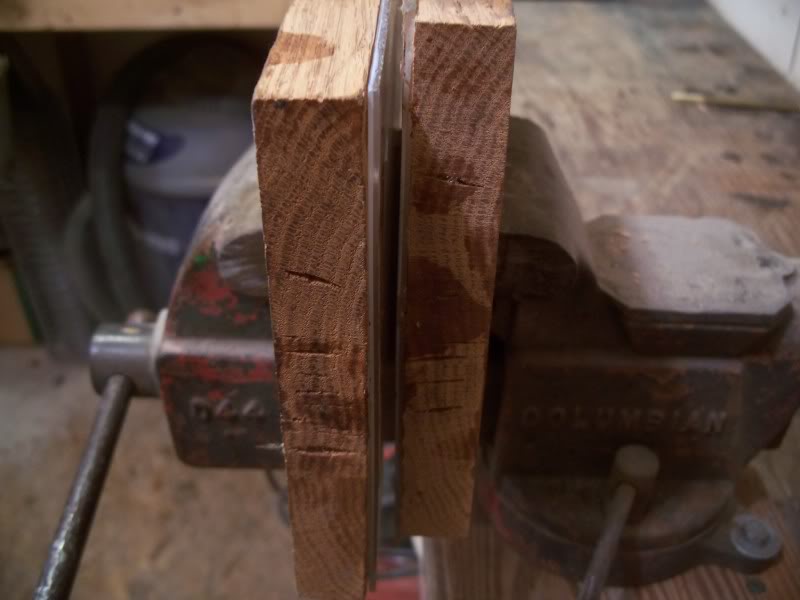
You should leave them clamped for a few hours to ensure they are fully dry and cool so they do not return to their previous curved state after removing them from the clamps.Nevertheless they will still need surface sanding to make them flat enough to install on a pocket knife.
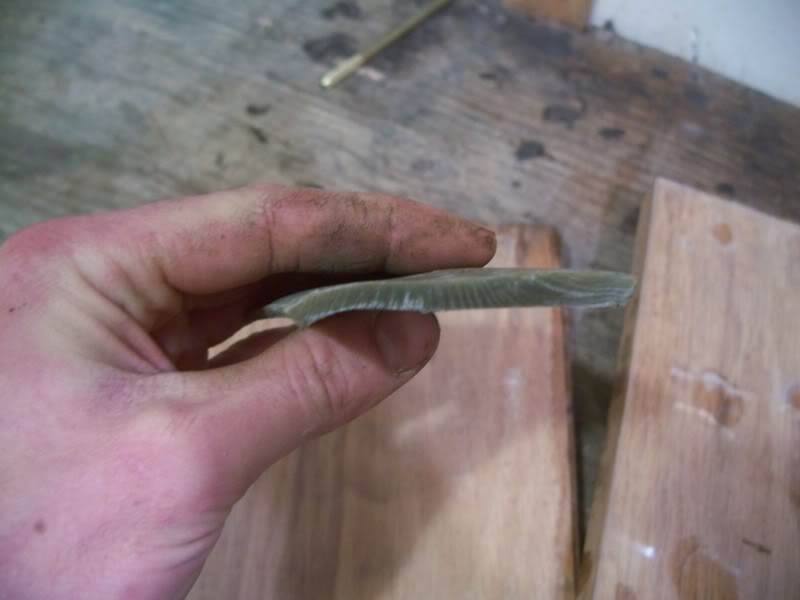
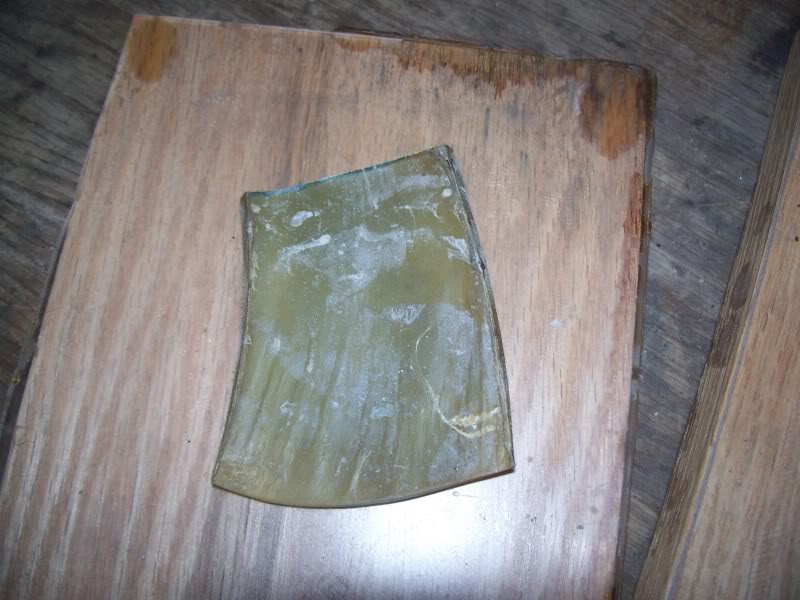
I will update this in a day or two with a photo of the completed product installed on a knife.
We start off with an ordinary cow horn
Mark it where it the tip starts getting solid
and cut it off
Now I make a rough mark and slice the horn in two. Always keep the cut parallel to the curve of the horn so if the horn is twisted you need to follow the curve of the horn, don't just make a straight cut or you'll lose material
Here it is sliced right down the middle
At about the halfway point is where the thickness begins to noticeably change, I'll get one thick set and one thinner set out of this relatively small horn plus I'll have the tip for another project.
Here is everything
decent thickness once you get in off the very edge
Chuck them all in boiling water, it doesn't stink too bad so you can do it inside if the wife will be gone for the day. I don't have that problem so I just boil them right in the kitchen. You could do it outside or in an outbuilding on a propane stove, turkey burner, ect. The hotplates I tried don't get hot enough to actually boil the water, the horn simmered for 5 hrs and was still too hard to clamp.
On a good rolling boil for around an hour for the thinner pieces, 1.5-2 hr for the thicker pieces ( 3/16" thick) to get them soft enough to clamp flat.
You can clamp them many ways but the best way I found by far was to use two flat pieces of wood (or metal, micarta ect as long as they're flat) and sandwich the horn between them and clamp them in a vice. This gives you the leverage and power you need to make the pieces good and flat.
You should leave them clamped for a few hours to ensure they are fully dry and cool so they do not return to their previous curved state after removing them from the clamps.Nevertheless they will still need surface sanding to make them flat enough to install on a pocket knife.
I will update this in a day or two with a photo of the completed product installed on a knife.

 )
)